

High-level overview
In order to understand the integration of an In-Car Wallet, it is important to understand the context in which it is used. The following illustration shows the main building blocks and their primary interactions.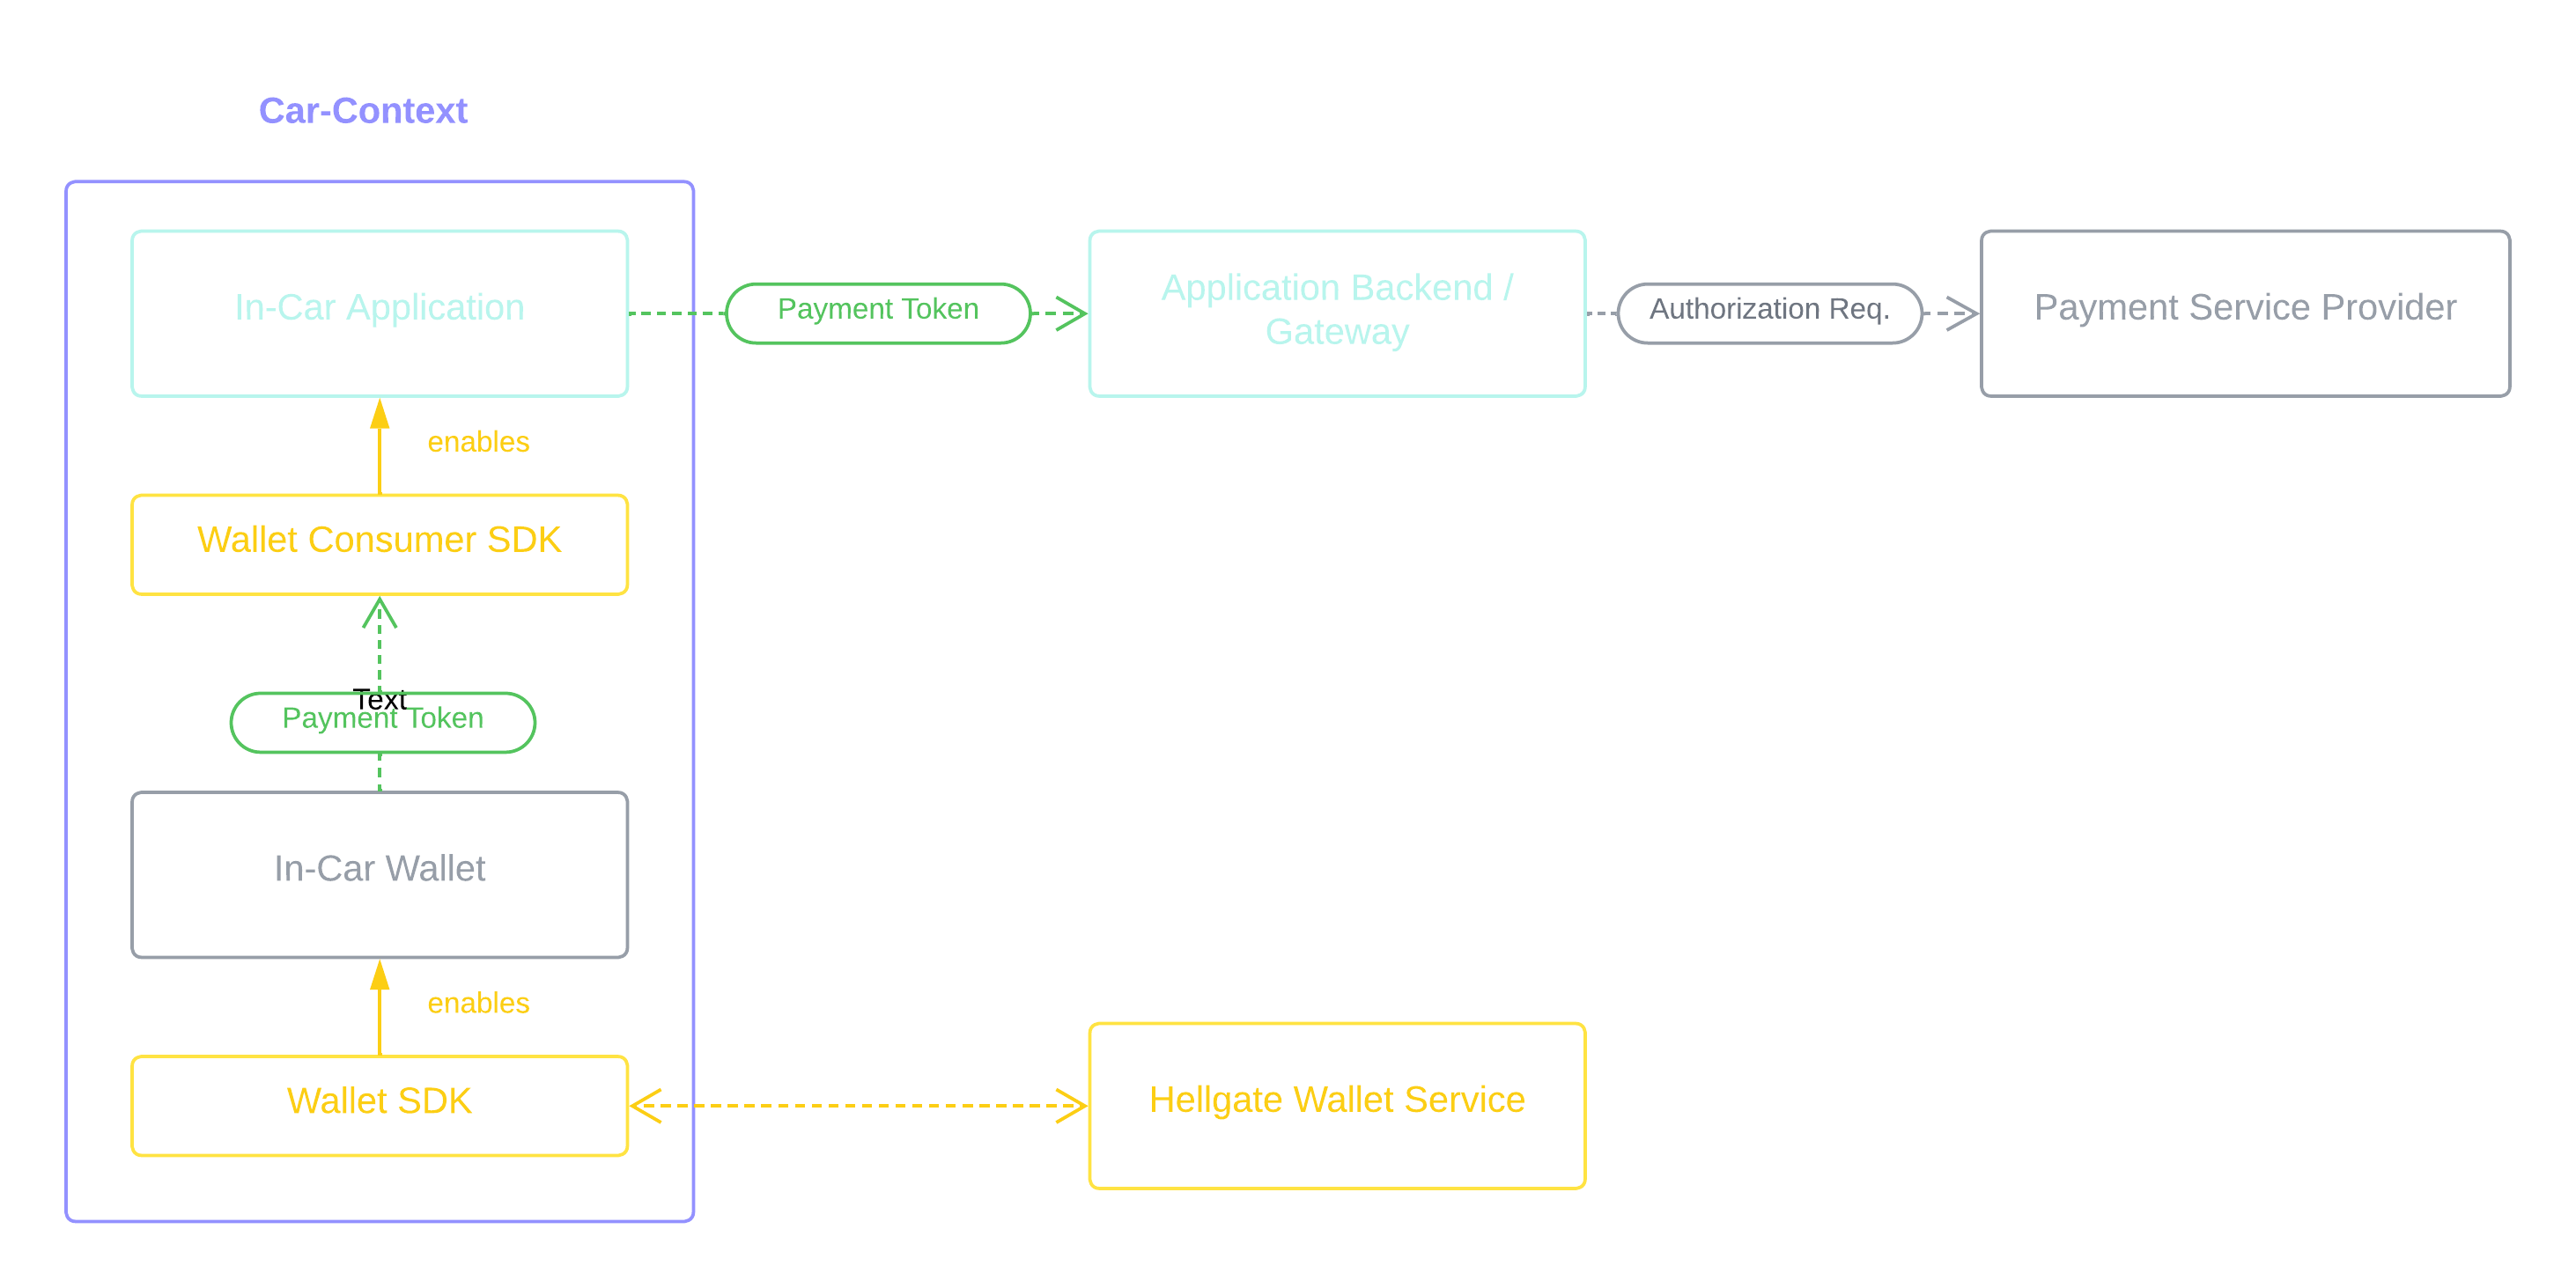
Car context
The car context revolves around the In-Car Wallet and the In-Car Applications that utilize it. Starfish provides two SDKs to simplify the development of these components.In-Car Application
In-Car Applications enable commerce-related use cases such as parking, fueling, and food delivery. Typically offered by third-party providers, these apps are independent of the car manufacturer’s core offerings. To streamline implementation and ensure compatibility across providers, Starfish offers the Wallet Consumer SDK. This lightweight library provides a simple interface for integrating with the In-Car Wallet.In-Car Wallet
The In-Car Wallet is a core component provided by car manufacturers. It securely stores payment methods, manages transactions, and offers a user interface for wallet interactions. While the wallet experience is tailored to the car manufacturer’s brand, Starfish’s Wallet SDK abstracts payment processing, enabling rapid development of fully certified in-car payment solutions.Backends
Supporting the car context are backend services that handle business logic and third-party integrations.Application backends
These services power In-Car Applications by implementing business logic and managing connections to third-party services, such as payment gateways and providers. It is important to understand that the Wallet itself only handles the authentication of the shopper for a payment. The actual payment processing is done by the application backend.Wallet Service
The Wallet Service, provided by Starfish, manages wallet assets and interfaces with the payment ecosystem to ensure secure, seamless transactions.Payment tokens
During a transaction, the In-Car Application prompts the driver or passenger to authenticate themselves to authorize the payment. Upon successful authentication, the In-Car Wallet generates a payment token. This token can be used by the app provider with their payment processing system to request the required authorization.Getting started with app development
For the sake of simplicity, we are not focusing here on the implementation of In-Car Wallets, but on their use for In-Car Applications.If you want to dive deeper into the implementation of the Wallet, please reach out to your account representative.
Prerequisites
We need a couple of extra things but they are easy to get; then we move focus to the app.Your Commerce account
First, go to Hellgate.io and register for a sandbox account if you don’t have one yet. Once you’re in, you can head over to the Wallet Developer Settings section on the left menu bar and you should see your wallet credentials to get access to the app dependencies. It might take a second since the credentials are created for you just in time. Keep them around, you will need them for later, or come back to the page if you need them again.The Wallet Simulator
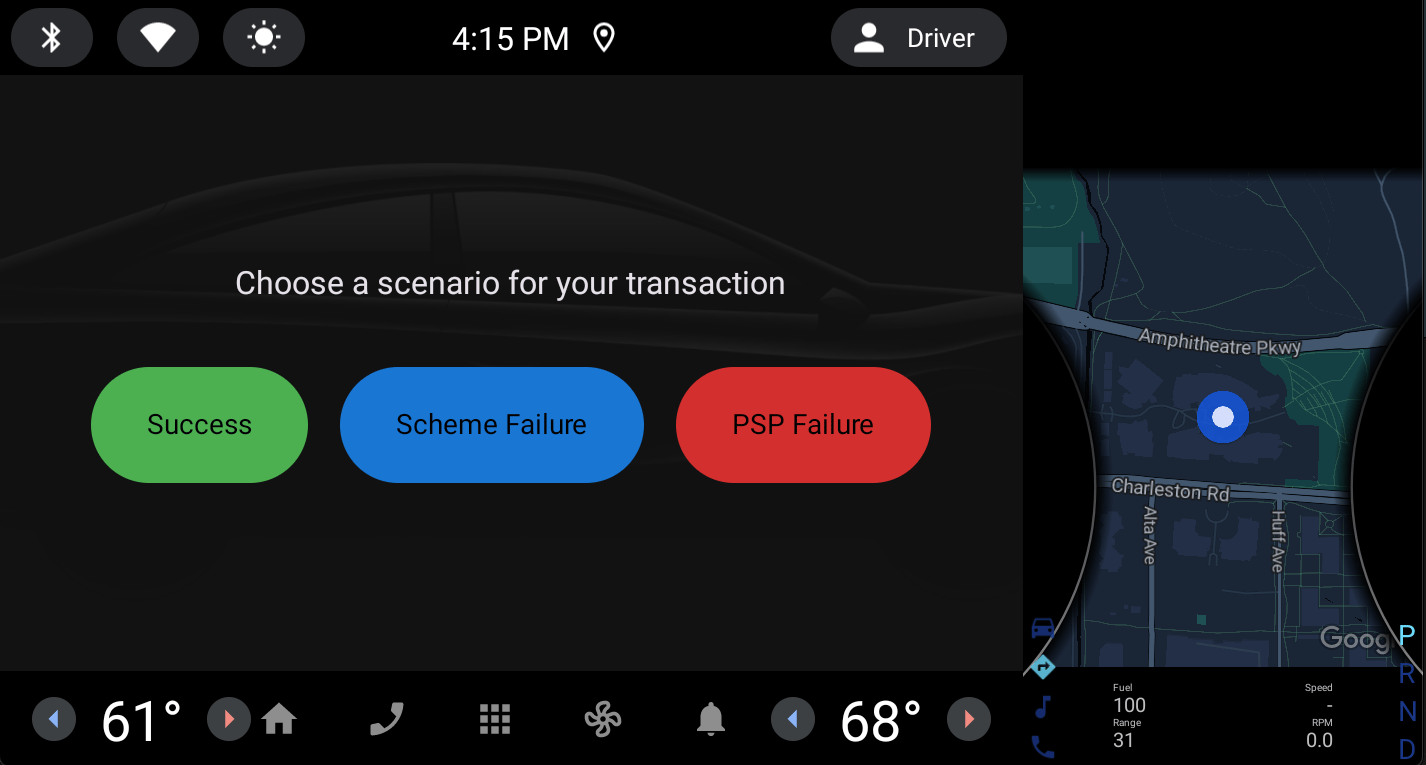
Cars are notoriously hard to keep around in the office, so they don’t make good test instruments. Because of this we have developed a wallet simulator that works just like your car wallet would, with some extra functionality for testing purposes, and the obvious branding difference. It is Commerce wallet behind the scenes, so you can develop with confidence. To Install the simulator:- If you have a test device, head to the Simulator Play Store page and install it as usual.
- If you are using the emulator, contact your account representative or reach out to our sales team via hellgate.io/demo to obtain the latest APK, then install it by dragging the APK file into your running emulator screen.
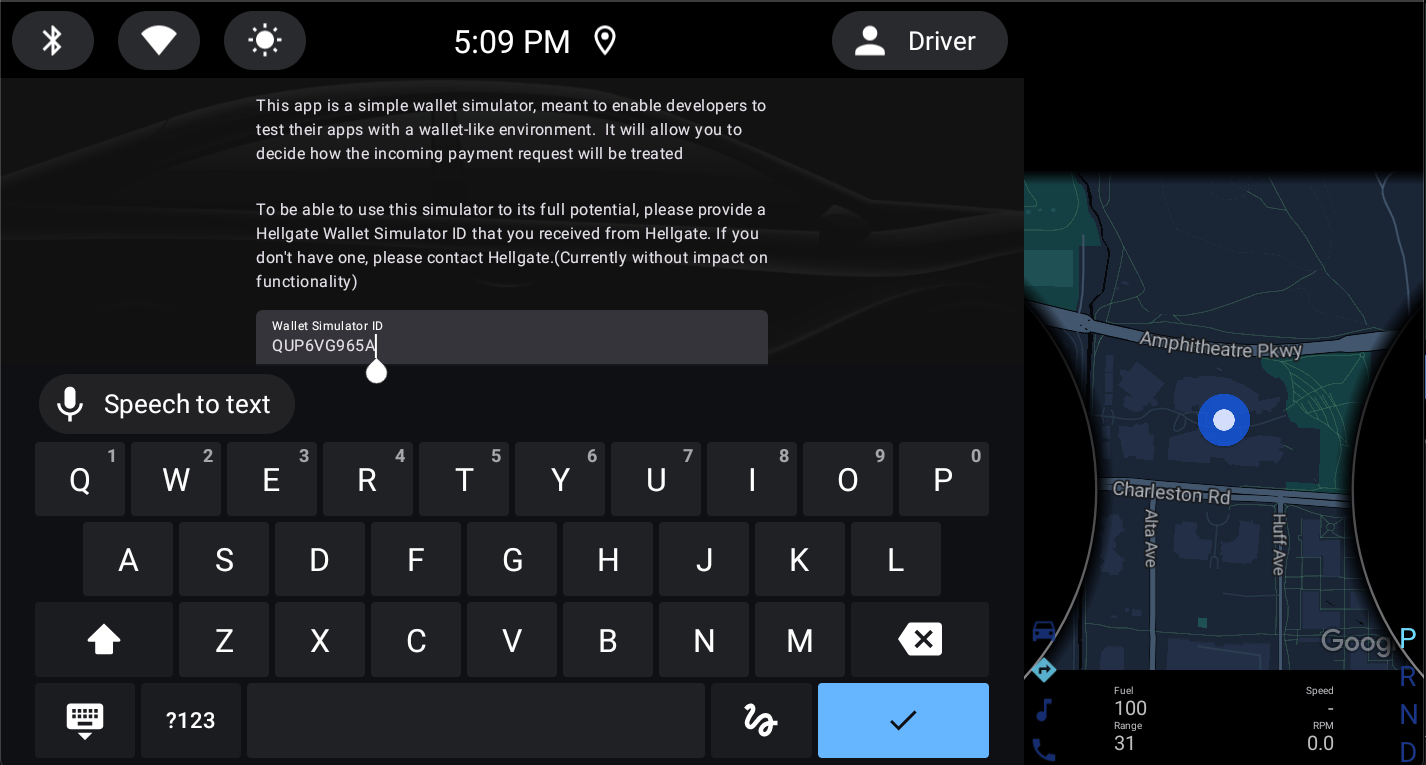
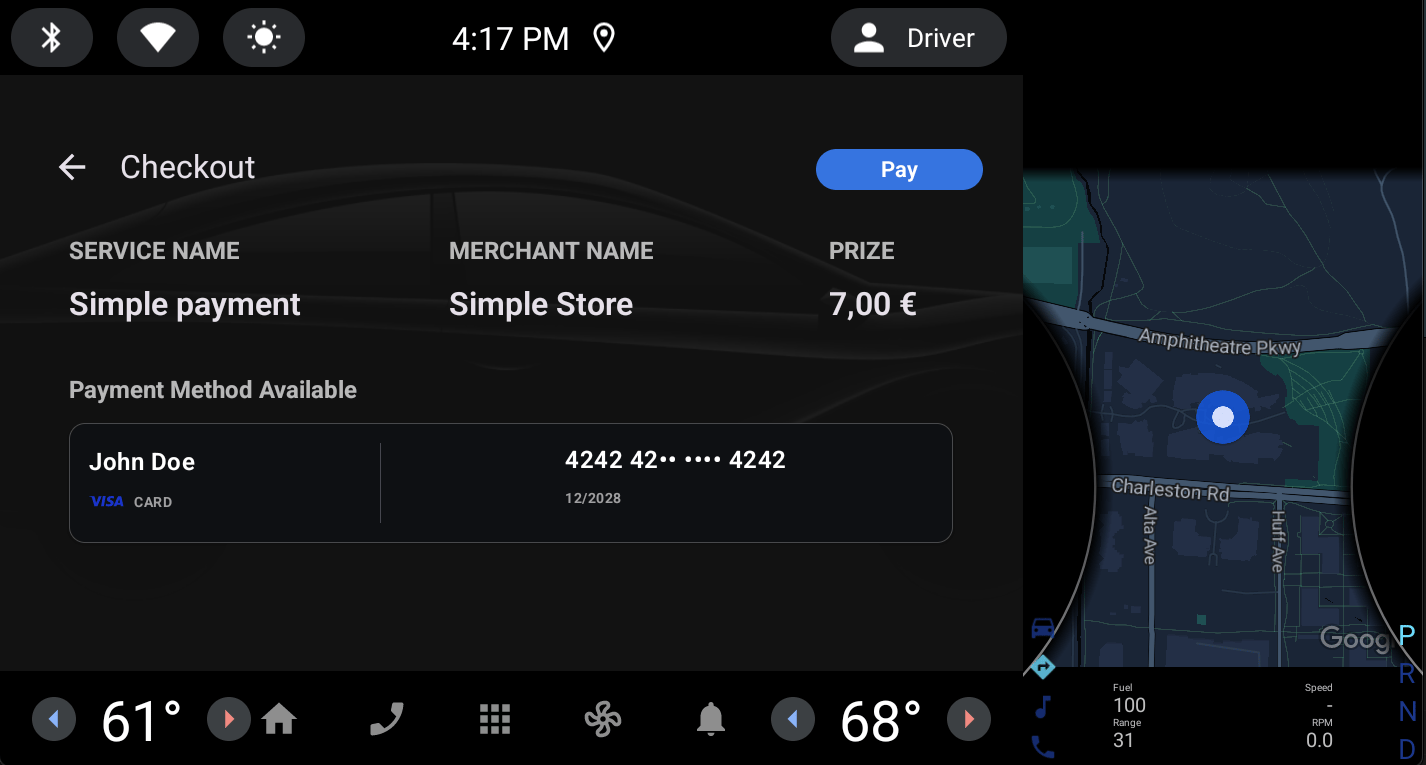
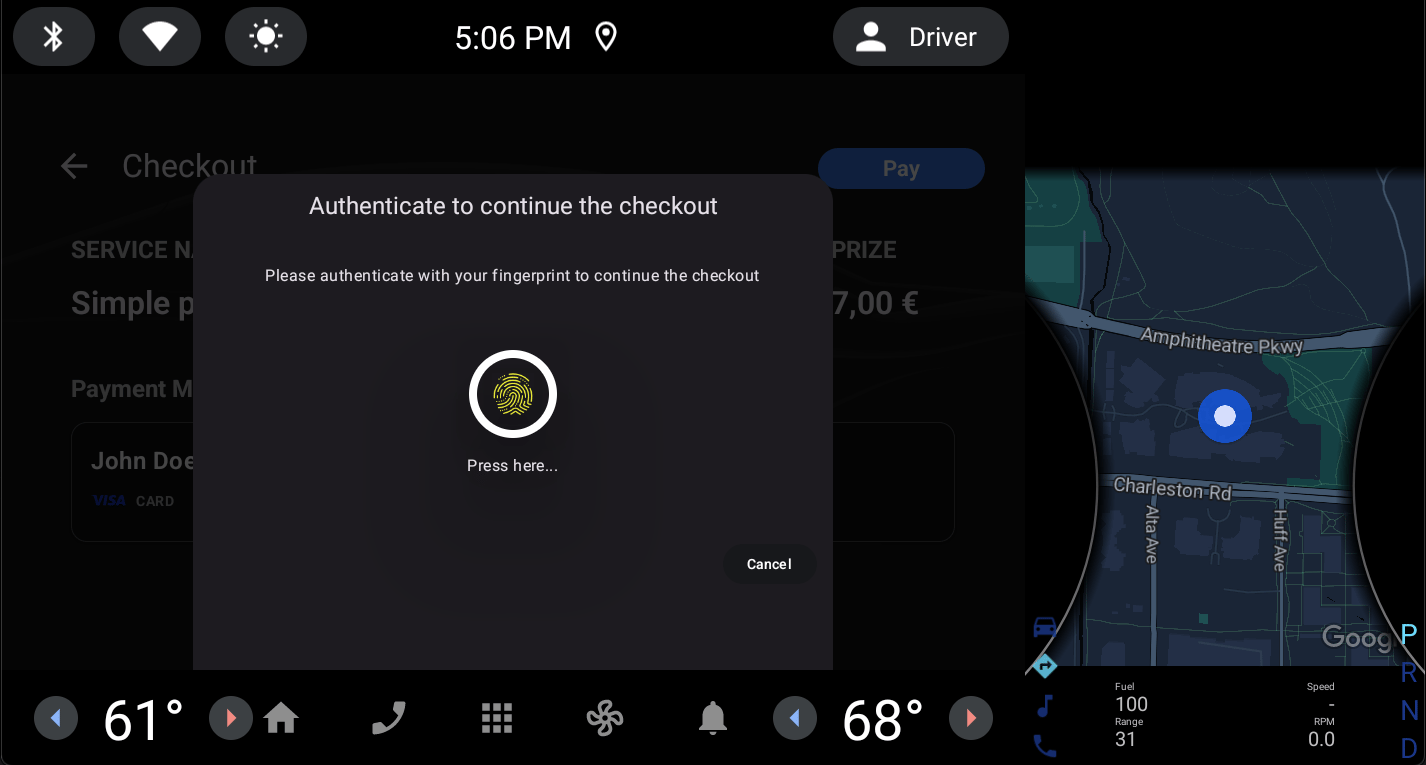
Your app
Finally we get to do some code, but not a whole lot. If you have a running app, choose where you want to place your “pay now” button and follow along. If you do not have an app, you can start a template project from Android Studio. Go to File → New → New Project and select a template; the empty activity one is a good place to start.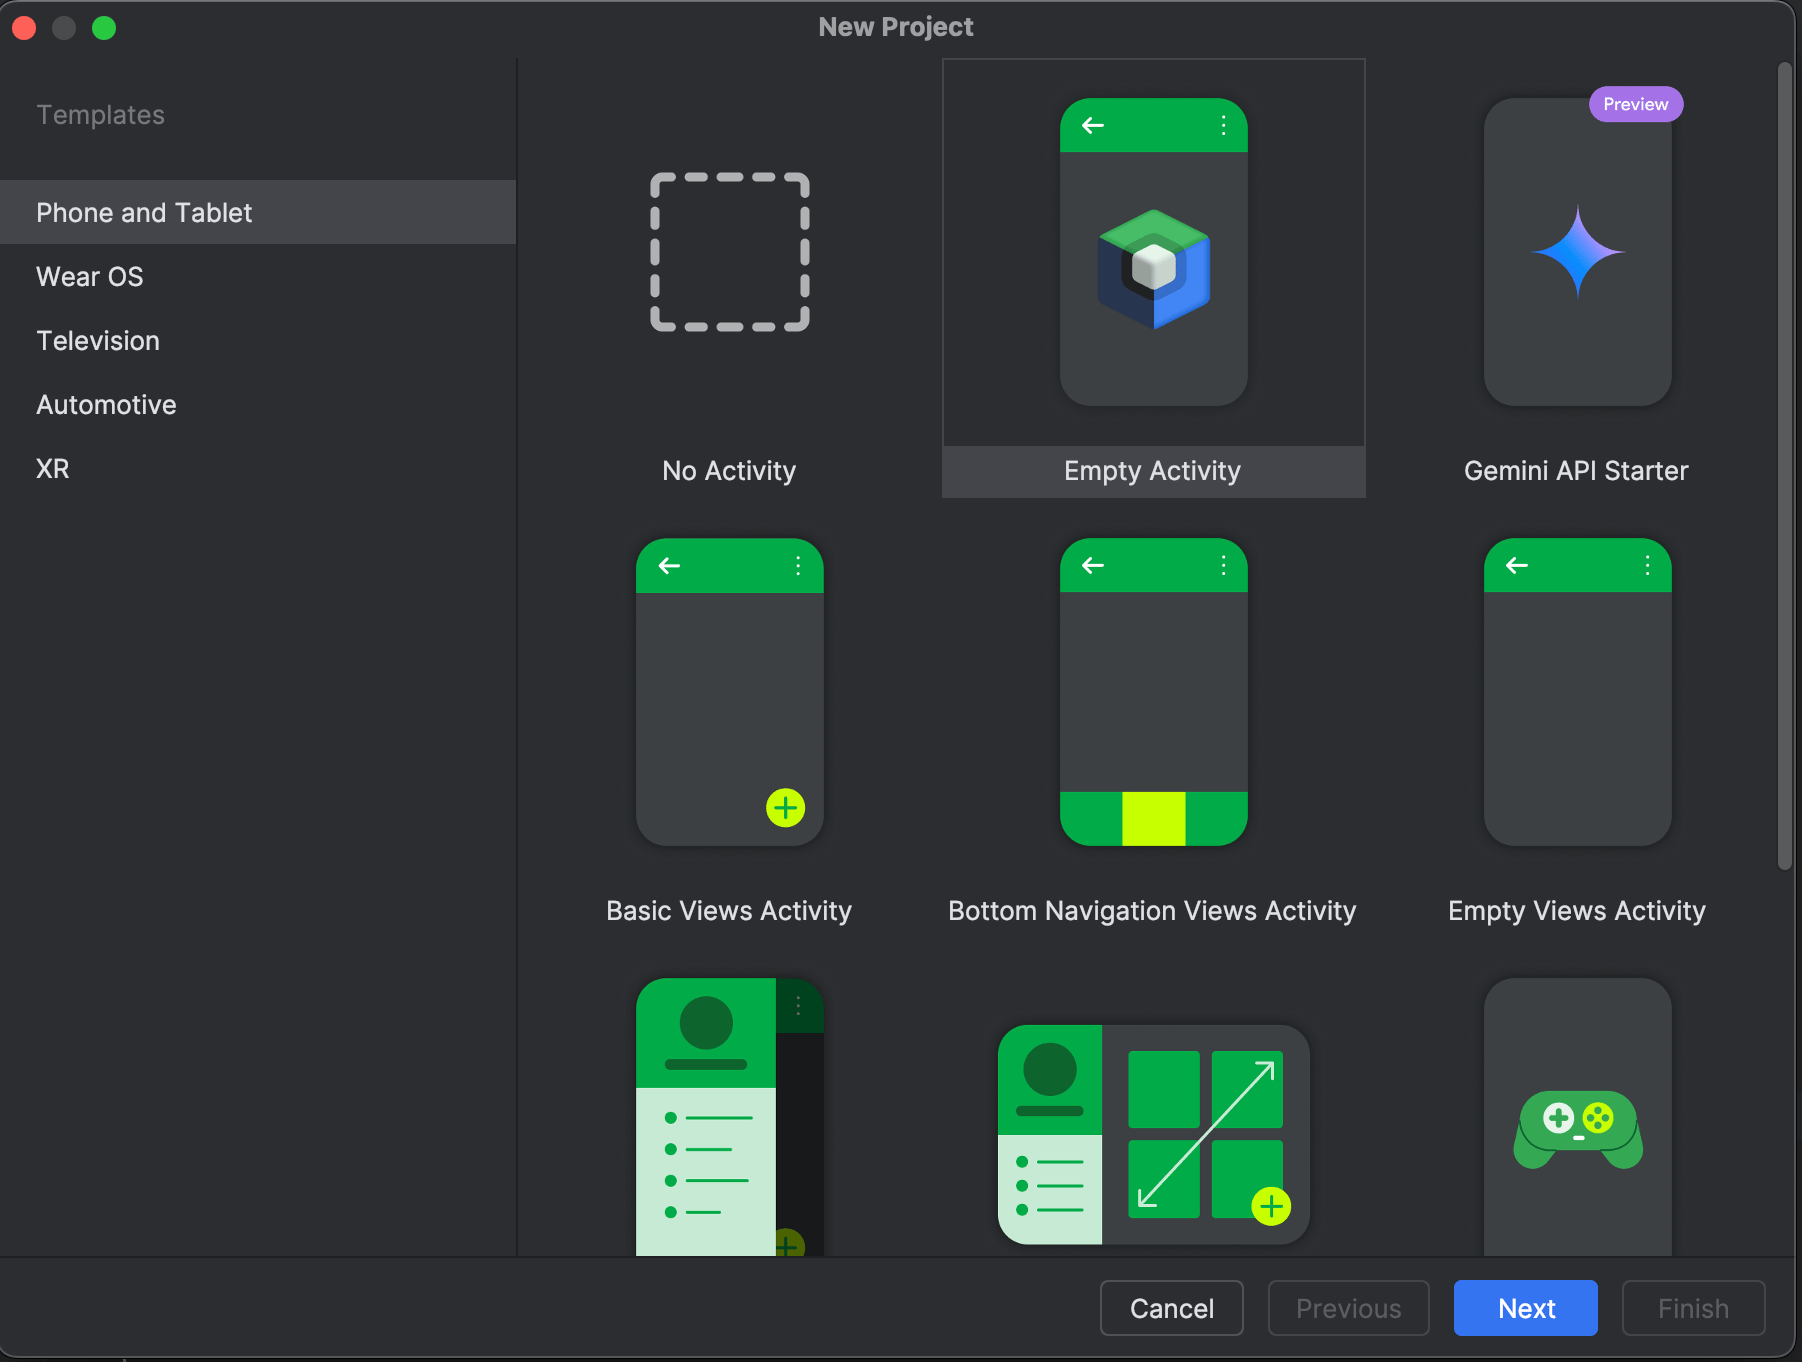
Setting up the SDK dependency
There are several ways to declare an additional Maven repository and dependencies; here is one viasettings.gradle.kts and app/build.gradle.kts. Grab the Maven credentials from your Commerce dashboard and include them in your Gradle files.
The payment authentication code
Payments are initiated using everyday Android intents. We fill aio.hellgate.hw.consumer.PaymentData object and using standard intent launch plumbing we launch the intent. In essence, this is the whole function we need to implement:
io.hellgate.hw.consumer.PaymentAuthenticationResult, which can either be Success or Failure, and in case of a success, give us our payment token. Again, this does not mean the payment was completed, it just means it was authenticated, the actual payment should be done in your backend, but we will get there in a moment. For now lets just add a quick function to handle our result, in this case we will just print it out:
The UI code
From here on, it’s all standard Android development. Let’s create a simple button that calls ourmakePayment function:
onClick handler invoking our makePayment function:
Putting it all together
If you started with the empty activity Android Studio template, the end result could look something like the code listing below. Of course in your own application, or if you used a different starter template, it will look different, but the important thing here is the pattern.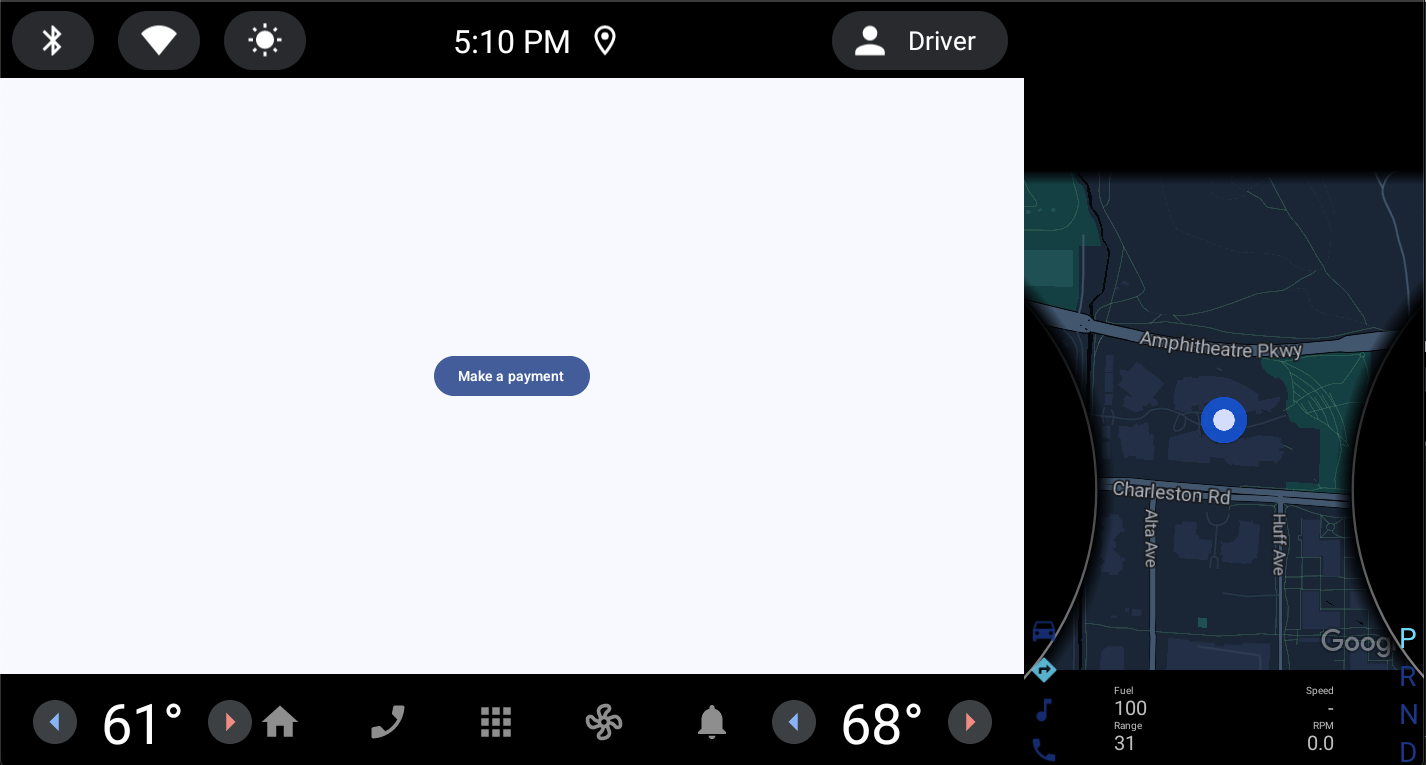
More on PaymentData
ThePaymentData data class contains the minimum information required to authenticate the payment. It is all you need to start a payment, plus a few extra properties to assist the actual wallet app with the information display.
Doing something with the result
Right now we are just printing out our result. But what we really want is to make a payment, and there are two possible courses of action:- You receive the payment token in your app and you send it back to your own backend for further processing
- Preferred: you configure your account with a webhook that receives the payment token directly from Commerce, and you fetch the status from your frontend
simplePolling that takes a URL and polls until it receives a successful result. We will leverage that function, punch in our backend simulator URL, and that will get us a result that honours what we selected as the outcome in the wallet simulator. We then replace the Success case in our receiveResult function with our polling function:
This particular piece requires internet access. If you are trying this out in your existing app it is very likely that permission is already set, but if you started with the Android Studio template, don’t forget to add it to
AndroidManifest.xml:receiveResult suspend because we are going out to the internet. So we need to update our launcher configuration to send that result through our coroutine scope: