Installation
Installation can be done in a number of ways. Pick the distribution method that best suits your project:Cocoapods
The SDK is available on Cocoapods. Add the following line to yourPodfile:
Carthage
- Add the following line to your
Cartfile:
- Run in same directory as your
Cartfile:
- Add the built XCFrameworks to your project under “Frameworks and Libraries”
Swift Package Manager
The SDK is available on Swift Package Index. Add the package via Xcode fromhttps://github.com/starfish-codes/hgate2-ios-headless-sdk.git
Usage
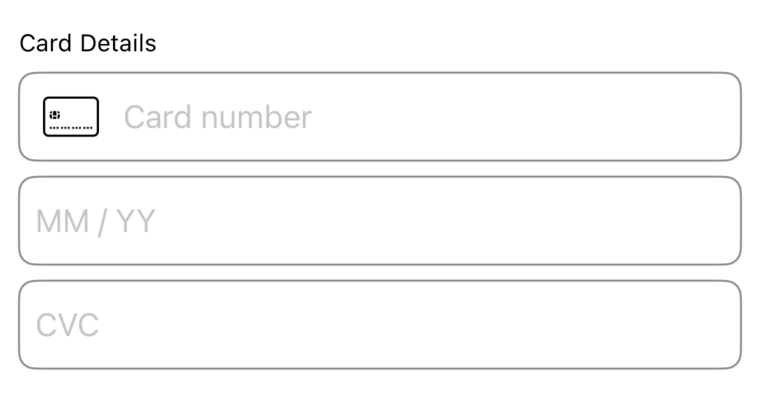
The SDK provides a set of UI components that can be used to collect payment method data from the user. The components are composed of the following separate fields:CardNumberView- A View that collects card details from the user.ExpiryDateView- A View that collects the expiry date of the card from the user.CvcView- A View that collects the CVC of the card from the user.
User Interface
Initialization of the UI Components
These components are intended to be used in a SwiftUI project. The validity of the users entered data can be listened in on by creating a@State property on your parent view.
ViewState
Each view below requires a binding to aViewState property. The ViewState of each component is updated as soon as their related component changes.
SDK Interface
Code Sample
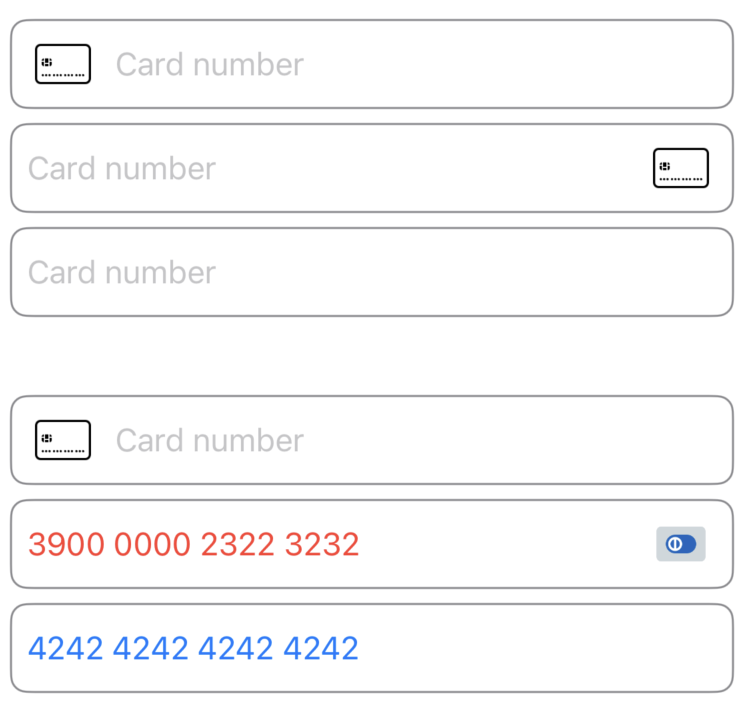
CardNumberView
TheCardNumberView view is used to collect the card number from the user. It can be initialized with the card brand image either on the leading or trailing side of the input or hidden.
Code Sample
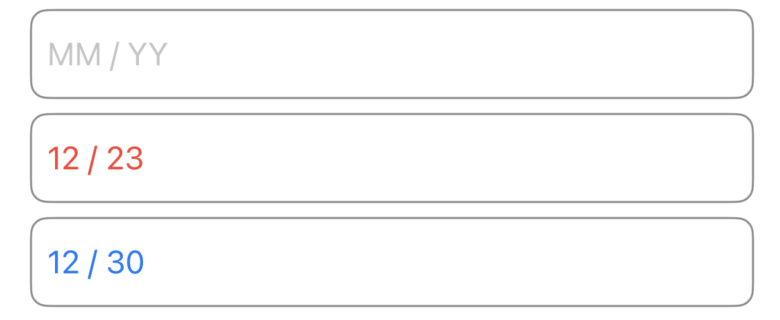
ExpiryDateView
TheExpiryDateView view is used to collect the expiry date of the card from the user.
Code Sample
CvcView
TheCvcView view is used to collect the CVC or CVV number of the card from the user.
Code Sample
Additional Fields
TheAdditionalFieldsView is used to capture additional information about the card holder. The view is initialized with a type of the field and can be used to collect the following types of data:
-
CARDHOLDER_NAME- to collect the cardholder name from the user. In the future, the following fields will be added: -
EMAIL- to collect the email from the user. -
BILLING_ADDRESS_LINE_1- to collect the address details from the user. -
BILLING_ADDRESS_LINE_2- to collect the address details from the user. -
BILLING_ADDRESS_LINE_3- to collect the address details from the user. -
BILLING_ADDRESS_POSTAL_CODE- to collect the address details from the user. -
BILLING_ADDRESS_CITY- to collect the address details from the user.
Code Sample
Tokenization
Once the user has filled in the fields, the data can be tokenized using thetokenizeCard() function of the CardHandler interface. To create an instance of the CardHandler interface, you can use the cardHandler() function of the Hellgate® SDK object. This section is followed by the SDK-interface for reference.
Please make sure to provide the base URL of the Hellgate® API as a parameter according to your Hellgate® usage scenario. As a second parameter, you will need to provide the session_id that you received from the Hellgate® API when you initialized the session on the server side. See the section Tokenize on the Web for more information.
Once created, you can initialize a Hellgate® Object which helps you to handle a session.
SDK Interface
Code Sample
REQUIRE_TOKENIZATION you can proceed with tokenizing the card data. After the card data was handed in successfully, the session state will change to COMPLETE. To hand in card data please create a cardhandler object by calling the cardHandler() function of the Hellgate® object. Now the tokenizeCard() function can be used to tokenize the card data by handing over the classes of the card number, expiry date and CVC number fields.
Also, in case you collected additional data, you can hand over a list of DataField objects to the function. The function will return a TokenizeCardResponse object. In case the tokenization was successful, the response will be of type TokenizeCardResponse.Success and contain the ID of the token. In case the tokenization failed, the response will be of type TokenizeCardResponse.Failure and contain a message.